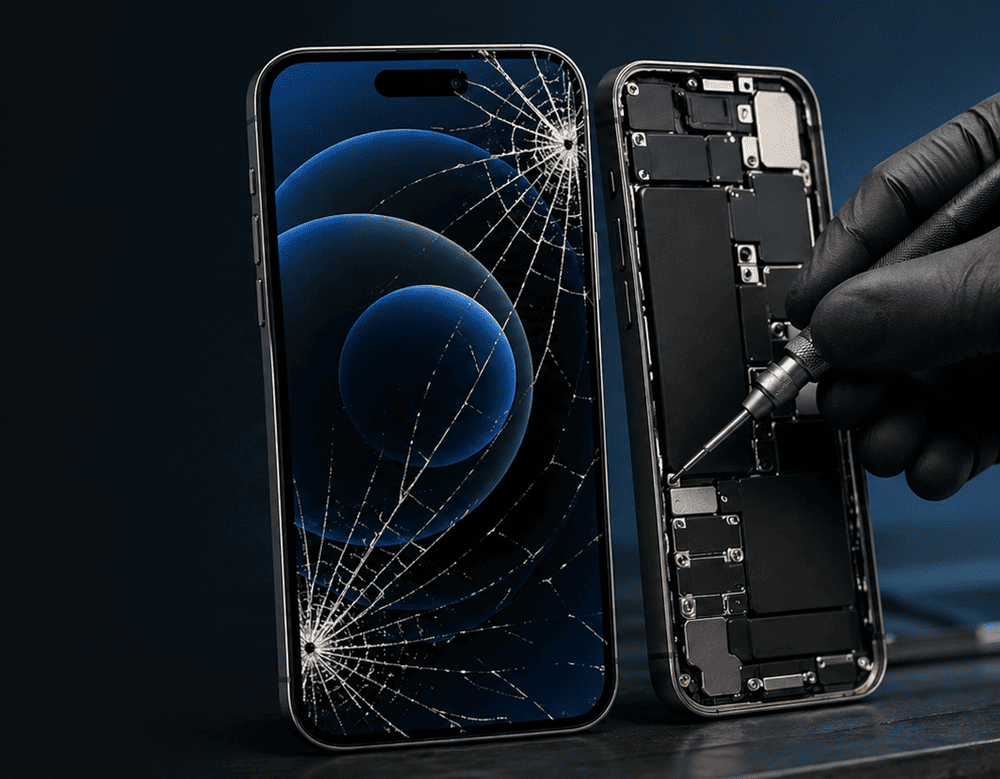
An iPhone screen that’s cracked is, of course, annoying but also risky. It is a tiny crack across the corner one second and then touch no longer works, Face IDgoes wonky or little bits of glass are coming off in your hand the next. That’s why it pays to consult an official iPhone screen replacement checklist before you rush in and fix it.
Here at Snapfix Mobile Repairs, we tell our customers the same story every single time: a repair begins before the screen even comes off. Planning accordingly, asking the right questions during service and testing everything after pickup saves stress, surprises hidden behind closed doors and repeat visits. Apple’s own service tips also advise backing up your device and disabling Find My before repair.
Why a repair checklist matters
There are various symptoms of screen damage. Sometimes the glass is broken but the display still functions. And in other instances, the OLED or touch layer is already broken, meaning that a full screen assembly will typically need to be replaced instead of being able to fix just the glass.
Because of that, a good checklist helps you:
- protect your data
- confirm the exact issue
- understand repair quality options
- test the phone properly after repair
- reduce the chance of follow-up problems
Before Repair: What to do first
1. Back up your iPhone
This is the most important first step. Screen replacement does not generally wipe any data, but there are occasions when things can go wrong if the phone has additional damage. Before turning over your iPhone, back it up using iCloud or your own computer. (This is a recommendation from Apple in regards to repair preparation.)
2. Turn off Find My iPhone
Apple warns that Find My should be disabled prior to service, or the repair may be delayed. Open Settings, tap your name, open Find My and turn it off.
3. Check your exact iPhone model
An iPhone 12, 12 Pro, 13, or 13 Pro may appear similar at a glance, but the components differ. Check the model in Settings > General > About so the shop can give a proper estimate for repairs.
4. Remove case, screen protector, and SIM if needed
A thick case or shattered protector can hide frame damage. Removing accessories lets the technician inspect the device more accurately.
5. Note existing issues
Before the repair, make a quick list:
- dead spots on touch
- black ink marks on display
- front camera blur
- Face ID not working
- battery swelling
- bent frame
This step matters because not every issue comes from the screen alone. Get details on Mobile Repair in Middleton Grange.
During Repair: What you should ask
Ask what type of replacement screen is being used
This is a big one. Many people ask only for the price, but screen quality matters just as much.
|
Screen Type |
What to Expect |
Best For |
|
OEM / premium quality |
Better brightness, colour balance, and touch response |
Users wanting near-original feel |
|
Aftermarket premium |
Good value, decent quality in many cases |
Budget-conscious repairs |
|
Low-cost generic |
Cheapest option, but quality may vary |
Short-term or old devices |
Some repair guides also point out that features like True Tone, colour accuracy, and touch smoothness can vary depending on the replacement quality.
Ask whether Face ID and True Tone will be checked
A proper iPhone screen replacement should include testing for:
- touch sensitivity
- brightness
- front camera alignment
- ear speaker function
- Face ID response
- True Tone behaviour where supported
Confirm turnaround time
Many standard screen repairs are completed the same day, but that depends on the iPhone model, stock availability, and whether the frame is bent.
Ask if there is a warranty on the repair
A reliable phone repair shop should explain warranty terms clearly. Usually, warranty covers part defects, not fresh drops or water damage. Looking for a Smart Phone Back Glass Replacement in Middleton Grange?
After Repair: What to test before leaving
Do not just power on the phone and walk away. Spend a few minutes checking everything.
Test touch across the full display
Open apps, drag icons, type across the keyboard, and swipe every corner. Dead zones often show up during simple use.
Check brightness and colour
Look for:
- screen too dim
- yellow tint
- flicker
- uneven lighting
- washed-out colours
Test Face ID, speaker, and front camera
Open the camera, make a test call, and unlock with Face ID. These parts sit near the display assembly, so they should be checked before you leave.
Inspect frame fit
The new screen should sit flush with the frame. Gaps, lifting, or loose edges are not normal.
Add protection right away
Once repaired, fit a quality case and tempered glass protector. That small extra step can save you from paying for another repair too soon. Get details on Smart Phone Water Damage Repair in Middleton Grange.
Quick repair checklist at a glance
|
Stage |
Checklist Item |
|
Before repair |
Back up iPhone |
|
Before repair |
Turn off Find My |
|
Before repair |
Confirm model and note existing faults |
|
During repair |
Ask about screen quality and warranty |
|
During repair |
Confirm feature testing |
|
After repair |
Test touch, brightness, Face ID, speaker, and fit |
|
After repair |
Add screen protector and case |
Related Articles:
» iPhone Service Centre in Middleton Grange
» Samsung Service Centre in Middleton Grange
» OPPO Service Centre in Middleton Grange
» Huawei Service Centre in Middleton Grange
» Xiaomi Service Centre in Middleton Grange
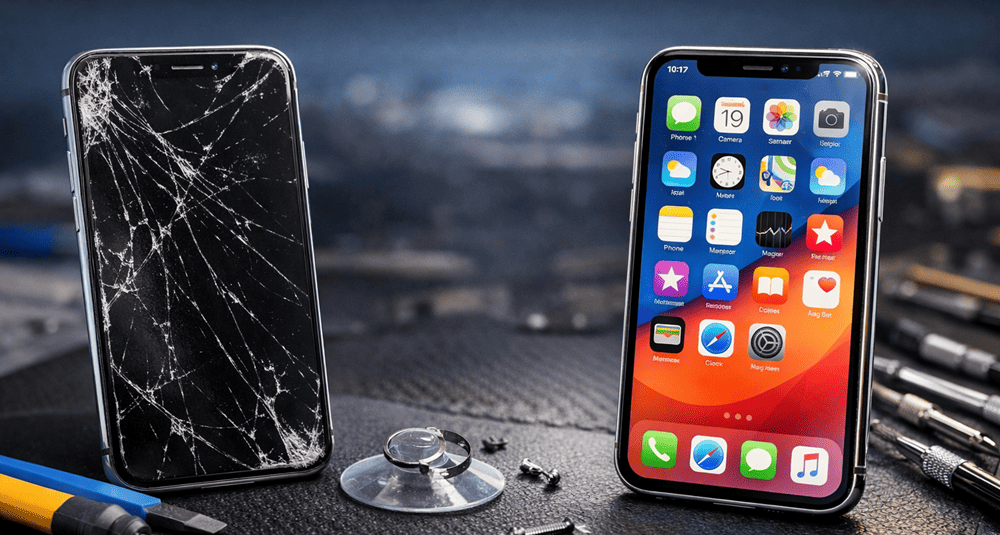
Your iPhone Screen Replacement
A cracked screen does not just affect looks. It can affect touch performance, visibility, safety, and even daily use. So, whether you need a fast fix for a light crack or a full iPhone display replacement, following a proper checklist makes the whole process easier.
At Snapfix Mobile Repairs, the goal is simple: clear advice, quality parts, careful fitting, and proper testing before the job is done. A screen replacement should leave your phone feeling right again, not “just okay”. And honestly, that part matters a lot.
FAQs on “iPhone Screen Replacement Checklist”
Yes. It safeguards you from your data being affected if the phone, during diagnosis or repair, develops additional issues.
Yes. This is not new for Apple, which recommends that users disable it prior to servicing.
Yes. That can carry cracks, blind contact and leaves moisture or dirt entering the phone.
That means most current iPhones have laminated displays, so visible damage typically necessitates the replacement of the entire screen assembly.
It should, as long as the sensors weren’t already damaged or the repair wasn’t completed properly.
Confirm touch, brightness, colour, Face ID, front camera, speaker and screen fit.
Most repairs are battery-in, but timing varies based on model, part availability and condition of the phone.
Yes. Screens of higher quality tend to provide better brightness, touch response and colour accuracy.
Yes, in some cases. Ask the repair shop whether True Tone will be retained and tested.
Not really. Loose shards can injure fingers, and display damage can extend deeper.
Yes. A protector adds an extra layer against scratches and future cracks.
Get a protective case, don’t drop it, keep it away from pressure (like other items) in bags or pockets and apply tempered glass as soon as you can.